Table of Contents
- 1 How to flush sediment from your water heater
- 2 Materials Required to flush sediment from your water heater
- 3 Step 1: Turn off the power.
- 4 Step 2: Turn on a hot water faucet in your home
- 5 Step 3: Turn off the cold water valve
- 6 Step 4: Attach a hose to the water heater
- 7 Step 5: Start draining the water heater’s tank
- 8 Step 6: Flush the System
- 9 Detach the hose and turn on the water heater
- 10 FAQS
How to flush sediment from your water heater
Cleaning a water heater’s tank is very important aspect of maintenance. In this article you can discover the best methods to safely flush your water heater’s tank. Also, you can learn about some of the advantages of this maintenance work.

Materials Required to flush sediment from your water heater
You most likely already have several of the materials needed to flush your water heater.
- A bucket
- A rubber hose
- Work gloves
Step 1: Turn off the power.
The first step to flush sediment from your water heater is crucial. If your water heater runs on gas, put the gauge to the pilot setting. If you have an electric water heater, shut off the electricity. You accomplish this by turning off the corresponding circuit breaker in your breaker box. Turning off the power to your water heater is an important safety precaution for this project.
Step 2: Turn on a hot water faucet in your home
Turn on the hot water faucet on your bathroom sink. Turning on the hot water might help to eliminate air bubbles from your water heater tank. This easy action will allow it to drain completely. Wait a minute or two, and you can turn off the faucet.
Step 3: Turn off the cold water valve
A water heater’s cold water valve is situated most of the times on top of the unit. It is possible to have a label or even a blue handle that indicates it is the cold water source. You can turn OFF the cold water valve.
Step 4: Attach a hose to the water heater
The next step is to find the spigot on your water heater and connect your hose to it. This spigot appears to be linked to a home’s outer wall. You may use a standard garden hose or get a shorter rubber hose to reduce the amount of slack. Next, place the hose’s end in a bucket to allow water to drain.
If your water heater is located on a shelf several feet above the floor, gravity will assist in draining the water. Alternatively, if your water heater is on the floor in a basement or somewhere else, it may not drain as quickly. Some water heaters require a pump to empty.
When you attach the hose, numerous drops of water may emerge from the spigot immediately away. You can place the hose’s end inside your bucket before linking the other end of the hose to the spigot.
Step 5: Start draining the water heater’s tank
After connecting your hose to the spigot, turn the lever above it to open the valve. Make sure the bucket is secure on the floor so it doesn’t tip over when the water fills it.
Look at the water that comes out. Is this mainly clear? If so, this is a positive indicator. It suggests there isn’t much sediment left in your water heater’s tank. However, if you notice black water with a lot of debris, your water heater may be malfunctioning. If this is the case, you should have your water heater inspected by a certified plumber. After draining all of the water from your water heater tank, turn off the valve.
Step 6: Flush the System
Now it is time to flush the system with cold water. Reach up and turn on the cold water valve. Cold water will travel through the system, loosening any residual silt. This step is beneficial in removing silt from the tank’s bottom.
Take around five minutes to flush your water heater tank with cold water. Then, turn off the cold water valve and open the valve on your hose. Of course, make sure the end of your hose is still in the bucket.
Is there still a lot of sediment in the water flowing from your tank? If that’s the case, you may need to flush and drain the tank again.
Detach the hose and turn on the water heater
After you’ve finished draining your water heater tank for the final time, shut the valve. Then detach the hose from the spigot. After turning on the cold-water valve, restart the bathroom faucet. Finally, switch on the gas or electricity to your water heater. Check your drain valve for a few minutes to confirm that there are no drips.
FAQS
Why is it necessary to flush a water heater?
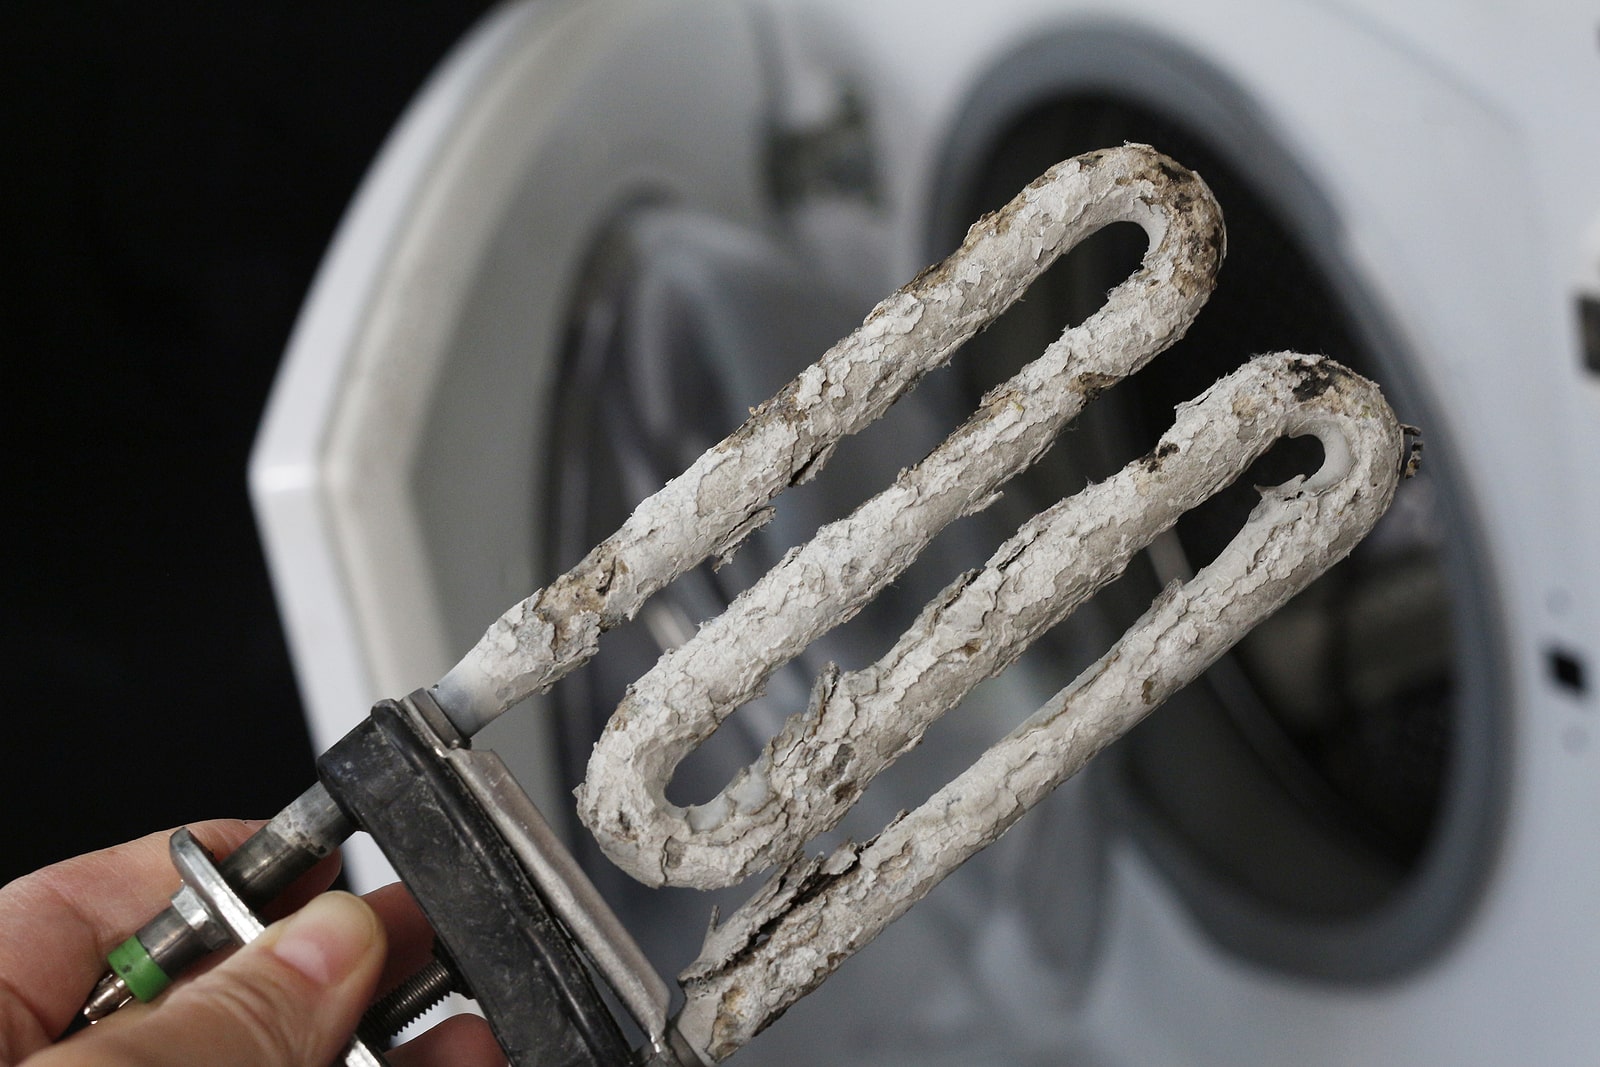
Seeing all of that sediment streaming out of your tank demonstrates the need of cleaning your water heater. When sediment accumulates in your tank, it hinders your water heater from operating properly. Layers of silt might eventually harm the construction of your water heater, necessitating its replacement.
There are several advantages to cleansing your water heater on a regular basis, including:
- Extends its life
- Heats water more quickly
- Reduces noise from the appliance
How often does it need to be flushed?
A water heater tank must be flushed once a year. However, some water heater tanks might need to be flushed more frequently.
If you check the amount of sediment that will come out of your water heater tank, you calculate how often you need to flush it. A second option is to have a competent plumber inspect your water heater and decide how frequently it should be flushed.
Is it necessary to flush a tankless water heater?
Yes. Although a tankless water heater does not have a tank, the device still require flushing.
Flushing a tankless water heater is slightly more involved than flushing a tank water heater. Specifically, you must employ a pump as part of the process. If you’re not comfortable flushing your own water heater, it’s best to hire a professional. Lifetime Plumbing can help you with any tankless water heater repair and installation.
Lifetime Plumbing has been providing skilled water heater maintenance services for a long time. Our plumbers have expertise working with both tank and tankless water heaters. We utilize state-of-the-art technology to safely and efficiently clean your water heater tank. We dispose of the dirty water and handle every stage of the procedure, so you don’t have to!
Contact Lifetime Plumbing now for expert assistance with your water heater maintenance needs!
More Posts You May Find Interesting
Table of Contents
- 1 How to flush sediment from your water heater
- 2 Materials Required to flush sediment from your water heater
- 3 Step 1: Turn off the power.
- 4 Step 2: Turn on a hot water faucet in your home
- 5 Step 3: Turn off the cold water valve
- 6 Step 4: Attach a hose to the water heater
- 7 Step 5: Start draining the water heater’s tank
- 8 Step 6: Flush the System
- 9 Detach the hose and turn on the water heater
- 10 FAQS

