Table of Contents
- 1 How to Identify and Fix Low Water Pressure Problems
- 2 Why Is Water Pressure Important?
- 3 How Does Low Water Pressure Affect You?
- 4 Common Signs of Low Water Pressure
- 5 Understanding Low Water Pressure
- 6 Checking Water Pressure Levels
- 7 Assessing Municipal and Well Water Systems
- 8 Identifying Common Causes of Low Water Pressure in a House
- 9 Fixing Low Water Pressure Issues in Municipal Water Systems
- 10 Fixing Low Water Pressure Issues in Well Water Systems
- 11 Considering Professional Help for Persistent Low Water Pressure Issues
- 12 Preventing Future Low Water Pressure Problems
- 13 Conclusion
How to Identify and Fix Low Water Pressure Problems
Water pressure is a crucial aspect of any household’s plumbing system. Adequate water pressure ensures a smooth and efficient flow of water, allowing us to perform daily tasks such as showering, washing dishes, and doing laundry without any hassle. However, low water pressure problems can disrupt our daily routines and cause frustration.
In this article, we will explore how to identify and fix low water pressure problems in your home. But before we dive into the solutions, let’s first understand the importance of water pressure and recognize the common signs that indicate low water pressure issues.
Why Is Water Pressure Important?
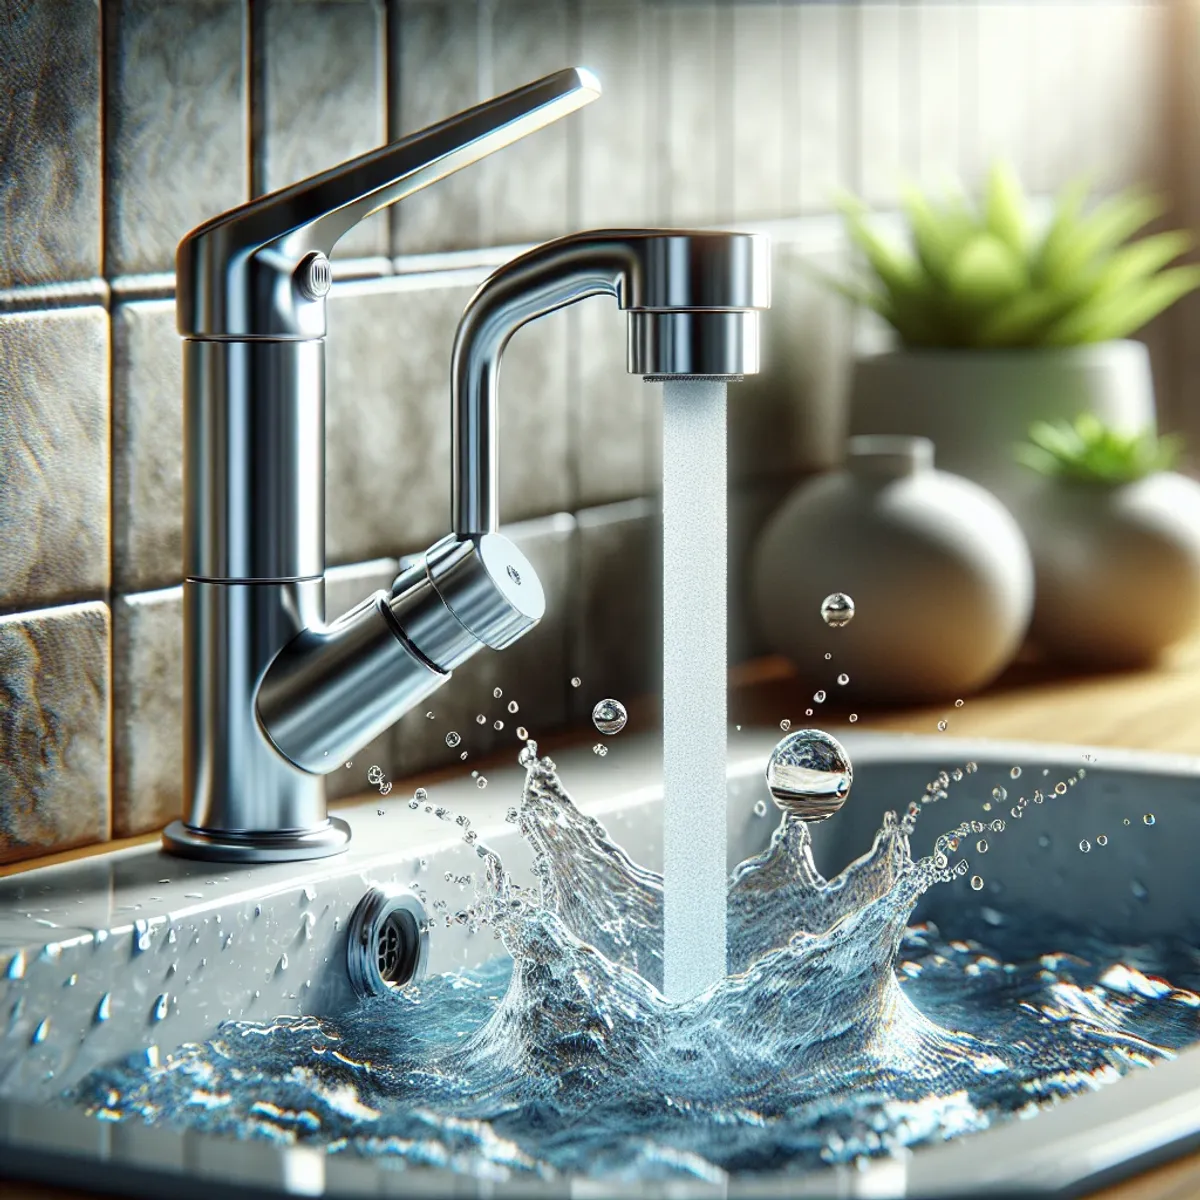
Water pressure is vital for a comfortable living environment. Insufficient water pressure can make simple tasks like showering or filling a pot take much longer than necessary.
How Does Low Water Pressure Affect You?
Low water pressure can also affect the performance of appliances such as washing machines and dishwashers, leading to ineffective cleaning.
Common Signs of Low Water Pressure
Here are some common signs that may indicate low water pressure in your home:
- Weak or inconsistent flow from faucets and showerheads. You may notice that it takes longer to fill up a sink or bathtub than usual.
- Poor performance of sprinkler systems or garden hoses, where you may experience reduced power or uneven spray patterns.
- Sputtering or spluttering faucets, indicating air in the pipes due to low water pressure.
Understanding the importance of maintaining adequate water pressure in your home and recognizing the signs of low water pressure will help you take proactive steps towards identifying and resolving any issues that arise. Let’s now delve deeper into diagnosing and fixing low water pressure problems.
Understanding Low Water Pressure
When it comes to maintaining a comfortable and functional household, adequate water pressure is crucial for various daily activities. Low water pressure can lead to frustration and inconvenience, affecting tasks such as showering, dishwashing, and laundry. Understanding the root causes of low water pressure is essential for effective troubleshooting and resolution.
Definition and Causes of Low Water Pressure
Low water pressure refers to a situation where the flow of water from fixtures or appliances is weaker than expected. This can manifest as slow-filling toilets, weak shower sprays, or inefficient faucet operation. Several factors contribute to low water pressure, including:
1. Pipe Blockages
Accumulation of mineral deposits, debris, or corrosion within pipes can impede the smooth flow of water, leading to reduced pressure.
2. Faulty Pressure Regulator
A malfunctioning pressure regulator can disrupt the balance of water pressure within the plumbing system, resulting in inadequate flow at fixtures.
3. Partially Closed Valves
Incomplete opening of shut-off valves along the water supply line can restrict water flow, causing reduced pressure at various points in the household.
Importance of Diagnosing the Problem Accurately
Accurately diagnosing low water pressure is essential for implementing targeted solutions. By understanding the specific cause or combination of factors contributing to low pressure, homeowners can avoid unnecessary expenses on ineffective repairs or replacements. Additionally, accurate diagnosis helps prevent recurring issues that may arise from incomplete problem resolution.
Common Plumbing Issues That Contribute to Low Water Pressure
Several common plumbing issues can contribute to low water pressure in residential properties. These include:
- Clogged or Corroded Pipes: Buildup of sediment, rust, or mineral deposits within pipes can obstruct the flow of water, leading to diminished pressure at fixtures.
- Malfunctioning Pressure Regulator: A defective pressure regulator may fail to maintain consistent water pressure throughout the plumbing system, resulting in inadequate flow at fixtures.
- Partially Closed Valves: Improperly adjusted or partially closed shut-off valves can restrict water flow, causing reduced pressure in specific areas of the household.
By recognizing these common issues and their potential impact on water pressure, homeowners can take proactive measures to address them effectively.
Checking Water Pressure Levels
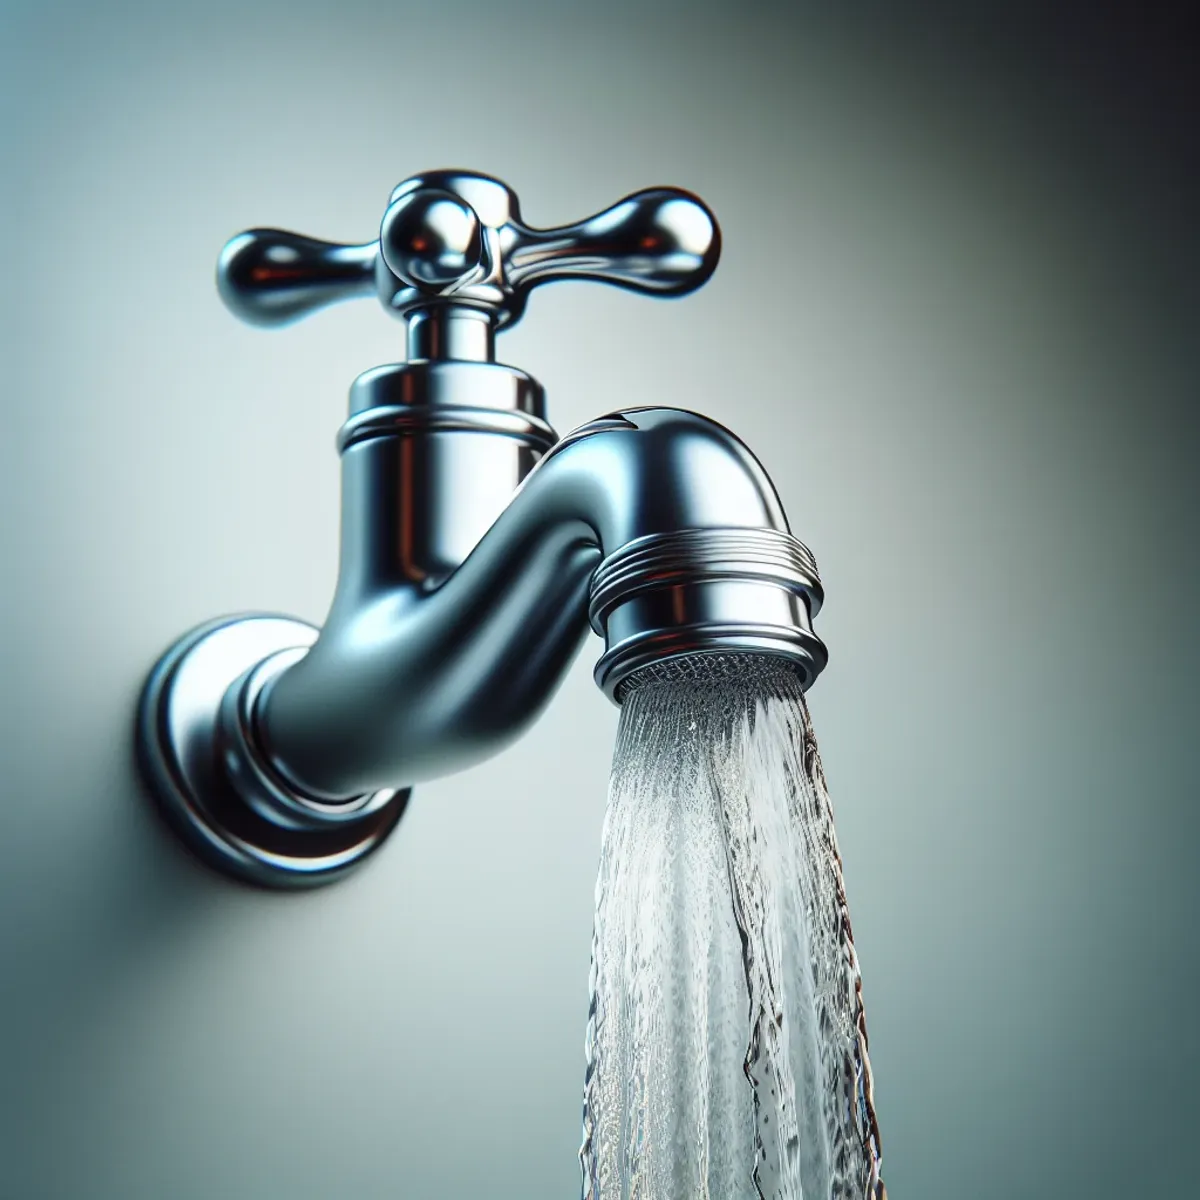
Water pressure is an important part of a working plumbing system at home. By checking your water pressure regularly, you can find and fix problems before they get worse. Learning how to read the pressure regulator dial correctly and knowing how to spot and repair common leaks in your plumbing are skills every homeowner should have.
Why Checking Water Pressure Levels is Important
Having the right water pressure helps you use water efficiently and comfortably in your home. When you check your water pressure regularly, you can see if it’s too high or too low, which might mean there’s a problem with your plumbing.
How to Read the Pressure Regulator Dial Correctly
- Find the pressure regulator. It’s usually near the main water valve.
- Look at the gauge or dial on the pressure regulator.
- Normal residential water pressure is usually between 40 and 60 pounds per square inch (psi).
- If the reading is much lower than 40 psi, it could mean you have low water pressure.
Ways to Find and Fix Common Leaks in Your Plumbing
- Check visible pipes, joints, and fixtures for signs of leaks like water stains or puddles.
- Do a dye test in toilet tanks to find silent leaks that you might not see right away.
- Use a water meter to find hidden leaks by turning off all your water sources and watching for any movement in the meter.
By checking your water pressure regularly, knowing how to read the pressure regulator dial correctly, and being able to find and fix common leaks in your plumbing, you can take charge of keeping your plumbing in good shape and dealing with low water pressure issues quickly.
Assessing Municipal and Well Water Systems
When it comes to assessing water systems, it’s essential to differentiate between municipal and well water systems, each with its unique characteristics. Understanding the specific type of water system you have is crucial before proceeding with any troubleshooting steps. Here are the key points to consider:
Municipal Water Systems:
These are supplied by a city or town and typically provide water through a main water valve connected to the public water supply. Municipal systems are subject to regulations and quality standards imposed by local authorities.
Well Water Systems:
In contrast, well water systems draw water from a private well located on the property. The water pressure in these systems is dependent on the well pump’s capacity and the depth of the groundwater source.
Assessing whether you have a municipal or well water system is fundamental as troubleshooting steps may vary significantly based on these distinctions. This initial assessment sets the stage for effectively addressing low water pressure issues specific to your type of system.
Identifying Common Causes of Low Water Pressure in a House
Low water pressure in a house can be caused by various factors, and it’s important to identify and address these issues promptly to ensure a steady flow of water throughout your home. Here are the most common culprits behind low water pressure in residential properties and step-by-step instructions on how to identify and address each potential cause:
1. Clogged or Corroded Pipes
Over time, pipes can become clogged with mineral deposits, sediment, or rust, leading to reduced water flow. To check for clogged or corroded pipes:
- Turn off the main water supply valve.
- Open multiple faucets throughout your home to see if the water pressure is consistently low.
- If the pressure is low in all areas of the house, it indicates a system-wide issue, which could be due to clogged or corroded pipes.
- Inspect visible pipes for signs of corrosion or mineral buildup. Pay attention to areas where pipes are exposed, such as under sinks or in the basement.
2. Malfunctioning Pressure Regulator
The pressure regulator is responsible for maintaining a consistent water pressure level in your home. If it malfunctions, it can cause low water pressure. To check the pressure regulator:
- Locate the pressure regulator near the main water supply valve.
- Check if there are any adjustment screws or valves on the regulator.
- Use a pressure gauge to measure the water pressure before and after the regulator.
- If there is a significant drop in pressure after passing through the regulator, it may need adjustment or replacement.
3. Partially Closed Valves
Sometimes, valves that control the water flow to specific areas of your home may be partially closed, resulting in low water pressure. To check for partially closed valves:
- Locate the main valve and any other valves that control specific sections of your plumbing system, such as outdoor faucets or individual room shut-off valves.
- Ensure that all valves are fully open by turning them counterclockwise.
- Check if the water pressure improves after opening all valves.
It’s important to note that these potential causes of low water pressure can occur individually or in combination. Therefore, it’s advisable to check each possibility systematically to accurately diagnose the problem.
By identifying and addressing these common causes of low water pressure, you can restore adequate water flow in your home and enjoy a comfortable living environment.
Fixing Low Water Pressure Issues in Municipal Water Systems
When dealing with low water pressure issues in municipal water systems, it’s important to address specific components and maintenance practices that can help restore adequate water flow. Here’s a detailed guide on fixing low water pressure problems in municipal water systems:
Importance of Clean Aerators and Showerheads
Clean aerators and showerheads play a crucial role in maintaining optimal water flow in municipal water systems. Over time, mineral deposits and debris can accumulate within these fixtures, leading to reduced water pressure. It’s essential to regularly clean and descale aerators and showerheads to ensure unrestricted water flow.
Step-by-Step Guide for Cleaning Clogged Showerheads and Aerators
- Remove the Aerator: Unscrew the aerator from the end of the faucet spout using pliers or a wrench.
- Soak in Vinegar: Submerge the aerator in vinegar for several hours to dissolve mineral deposits.
- Scrub and Rinse: Use a small brush, such as an old toothbrush, to scrub away remaining debris. Rinse the aerator thoroughly before reattaching it to the faucet.
Thorough Plumbing Inspection for Identifying Underlying Issues
Conducting a comprehensive plumbing inspection is essential for identifying and rectifying underlying issues causing low water pressure. This involves examining various components of the plumbing system, including pipes, valves, and connectors, to pinpoint potential sources of restriction or leakage.
Repairing or Replacing Faulty Plumbing Components
When addressing low water pressure in municipal water systems, specific steps may be required to repair or replace common culprits contributing to the issue. These steps include:
- Inspect the water supply valve for any signs of damage or blockage that could impede water flow. Replace the valve if necessary to restore proper functionality.
- Check for leaks, corrosion, or blockages within the pipes and connectors. Repair or replace damaged sections to eliminate obstructions affecting water pressure.
By following these steps and performing regular maintenance, you can effectively address low water pressure issues in municipal water systems, ensuring consistent and adequate water flow throughout your home.
This comprehensive approach focuses on both preventive measures and targeted solutions for restoring optimal water pressure in municipal water systems. By understanding the importance of clean fixtures, conducting thorough inspections, and addressing specific plumbing components, homeowners can effectively resolve low water pressure issues without delay.
Fixing Low Water Pressure Issues in Well Water Systems
Dealing with low water pressure in well water systems can present unique challenges. Understanding the specific characteristics of these systems and knowing how to assess and address potential issues is crucial. In this section, we will discuss several methods to fix low water pressure issues in well water systems.
1. Assessing System PSI and Adjusting the Pressure Switch
One of the first steps in fixing low water pressure issues in a well water system is to assess the system’s PSI (pounds per square inch) and ensure that the pressure switch is properly adjusted. The PSI indicates the pressure at which water is delivered from the well to your home. If the PSI is too low, it can result in reduced water flow.
How to assess the system’s PSI:
- Locate the pressure gauge: The pressure gauge is usually located near the pressure tank or on the water line leading into your home.
- Turn off all water fixtures: Ensure that no faucets or appliances that use water are running.
- Attach the gauge: Connect the pressure gauge to a hose bib or faucet closest to where the main water line enters your home.
- Open the valve: Slowly open the valve on the pressure gauge and allow it to stabilize for a few moments.
- Read the gauge: Take note of the reading on the gauge. A typical range for residential well systems is between 40-60 PSI. If your reading falls below this range, you may have a low-pressure issue.
If you find that your PSI reading is below 40 PSI, it’s important to adjust the pressure switch accordingly. The pressure switch controls when your well pump turns on and off based on preset pressure settings.
How to adjust the pressure switch:
- Turn off the power: Before making any adjustments, turn off the power to your well pump at the electrical panel.
- Locate the pressure switch: The pressure switch is typically located near the pressure tank or on the water line leading into your home.
- Adjust the cut-in pressure: This is the minimum pressure at which the pump should start. Use a wrench to turn the nut on top of the pressure switch clockwise to increase the cut-in pressure or counterclockwise to decrease it.
- Adjust the cut-out pressure: This is the maximum pressure at which the pump should stop. Use a wrench to turn the nut on top of the pressure switch clockwise to increase the cut-out pressure or counterclockwise to decrease it.
- Restore power and test: Once you have made your adjustments, restore power to the well pump and test the water flow at various fixtures in your home.
2. Addressing Silt/Debris Buildup in Pipes
Another common issue that can contribute to low water pressure in well water systems is silt or debris buildup in pipes. Over time, sediment can accumulate in your well and plumbing system, restricting water flow and causing low pressure.
How to address silt/debris buildup:
- Install a sediment filter: Consider installing a sediment filter at the point where water enters your home. This filter can help capture larger particles before they reach your plumbing system.
- Flush your plumbing system: Periodically flushing your plumbing system can help remove accumulated sediment. Start by turning off your well pump and opening all faucets in your home. Allow them to run until you notice clear water flowing consistently.
- Clean or replace clogged screens and filters: If you have individual fixtures with reduced water flow, check for and clean any clogged screens or filters. These are often found on faucets, showerheads, and other water-using appliances.
3. Considering Water Softener Installation
Hard water can contribute to low water pressure by causing mineral buildup in pipes and fixtures over time. If your well water system has hard water, installing a water softener may help improve water flow and pressure.
How a water softener works:
A water softener works by removing minerals such as calcium and magnesium from the water, preventing scale buildup. By reducing scale accumulation, you can maintain better water flow throughout your plumbing system.
Consider consulting with a professional plumber or water treatment specialist to determine the appropriate size and type of water softener for your well water system. They can assess your specific needs and recommend the best solution for improving low water pressure caused by hard water issues.
By assessing system PSI, adjusting the pressure switch, addressing silt/debris buildup in pipes, and considering water softener installation, you can effectively fix low water pressure issues in well water systems. Taking these steps will help ensure optimal water flow and pressure throughout your home, providing a more comfortable living environment.
Considering Professional Help for Persistent Low Water Pressure Issues
When it comes to dealing with persistent low water pressure issues in your home, there may come a point where it’s best to get assistance from a licensed plumber. While you can try to troubleshoot and fix many common causes of low water pressure on your own, there are certain problems that might require the expertise of a professional. Here are some things to think about when considering whether or not to seek professional help:
Recognizing the need for professional help
If you’ve already tried different troubleshooting steps and you’re still experiencing low water pressure, it could be a sign that the underlying problem is more complicated. A qualified plumber has the knowledge and experience to figure out what’s causing the low water pressure and come up with an effective solution.
Complexity of the issue
Some low water pressure problems go beyond simple blockages or leaks. There could be issues with the main water line, the pressure regulator, or even the way your plumbing system was designed. These types of problems often require specialized attention. A professional plumber can assess the situation, determine what’s really causing the low water pressure, and then take the necessary steps to fix it.
Alternative solutions
In addition to hiring a plumber, there are other options you can explore when it comes to dealing with persistent low water pressure. One popular solution is to install a device called a water pressure booster pump. This pump is designed to increase the water pressure throughout your entire home by boosting the flow of water from the main supply line. If you’re not sure whether or not this solution would work for your specific situation, it’s best to talk to a licensed plumber who can give you guidance based on their expertise.
Remember, when you hire a licensed plumber, you can have peace of mind knowing that they will do the job correctly and in line with all local plumbing codes. They also have access to specialized tools and equipment that may be necessary for diagnosing and fixing complex low water pressure problems.
By recognizing when it’s time to seek professional help and considering alternative solutions like a water pressure booster pump, you can make sure that your low water pressure problems are taken care of in the best way possible.
Preventing Future Low Water Pressure Problems
To keep your home’s water system working well and avoid future low pressure problems, it’s important to take care of it before any issues arise. Here are some steps you can take:
1. Implement a regular maintenance schedule
Set up a routine to check your plumbing system for any potential problems. This can involve:
- Looking out for leaks
- Checking the water pressure
- Making sure all parts are functioning properly
2. Upgrade to water-efficient fixtures
Consider replacing your current fixtures with ones that use less water but still perform effectively. Some options include:
- Low-flow showerheads
- Faucets with aerators
- Water-saving toilets
These fixtures are designed to help you maintain good water pressure while reducing water consumption.
By being proactive with maintenance and using water-efficient fixtures, you can minimize the chances of experiencing low water pressure in the future and enjoy a reliable water supply throughout your home.
Conclusion
Addressing low water pressure issues promptly is crucial for maintaining a comfortable living environment. By following the steps outlined in this article, you can diagnose and fix specific water pressure problems in your home.
Remember, proactive maintenance is key to preventing future low water pressure issues. Regularly check water pressure levels and inspect your plumbing system for leaks and clogs. Clean aerators and showerheads to improve water flow. Additionally, consider installing a water pressure booster pump if needed.
In conclusion, maintaining adequate water pressure in your household is essential for everyday tasks such as showering, washing dishes, and doing laundry. By identifying the causes of low water pressure and taking appropriate measures to fix them, you can ensure a consistent and satisfactory water flow throughout your home.
Don’t wait until low water pressure becomes a major inconvenience. Take action now to address any issues you may be experiencing. Your comfort and convenience depend on it.
If you find yourself in need of professional plumbing assistance, don’t hesitate to contact Lifetime Plumbing, your professional plumber in Chicago. Lifetime Plumbing can also help with emergency plumbing, commercial plumbing, residential plumbing, installing and repairing water heaters, drain cleaning, fixing water leaks, gas leaks, faucet installation and repair and tankless water heater repair and installation.
More Posts You May Find Interesting
Table of Contents
- 1 How to Identify and Fix Low Water Pressure Problems
- 2 Why Is Water Pressure Important?
- 3 How Does Low Water Pressure Affect You?
- 4 Common Signs of Low Water Pressure
- 5 Understanding Low Water Pressure
- 6 Checking Water Pressure Levels
- 7 Assessing Municipal and Well Water Systems
- 8 Identifying Common Causes of Low Water Pressure in a House
- 9 Fixing Low Water Pressure Issues in Municipal Water Systems
- 10 Fixing Low Water Pressure Issues in Well Water Systems
- 11 Considering Professional Help for Persistent Low Water Pressure Issues
- 12 Preventing Future Low Water Pressure Problems
- 13 Conclusion

