Table of Contents
How to Unclog a Kitchen Sink
Dealing with a clogged kitchen sink can disrupt your daily routine and cause frustration. It’s important to take immediate action to avoid further issues and potential damage to your plumbing system.
There are several common reasons why kitchen sinks get clogged, including:
- Food particles, grease, and soap residue building up over time.
- Objects that shouldn’t be in the sink, like utensils or small toys.
- Low water pressure, which can make it harder for things to flow down the drain smoothly.
Understanding these causes can help you prevent future clogs. In this article, we’ll explore different methods and tools you can use to unclog your kitchen sink. We’ll also provide step-by-step instructions for dealing with specific types of clogs and share tips on how to keep your sink clear in the future.
Method 1: Using a Plunger
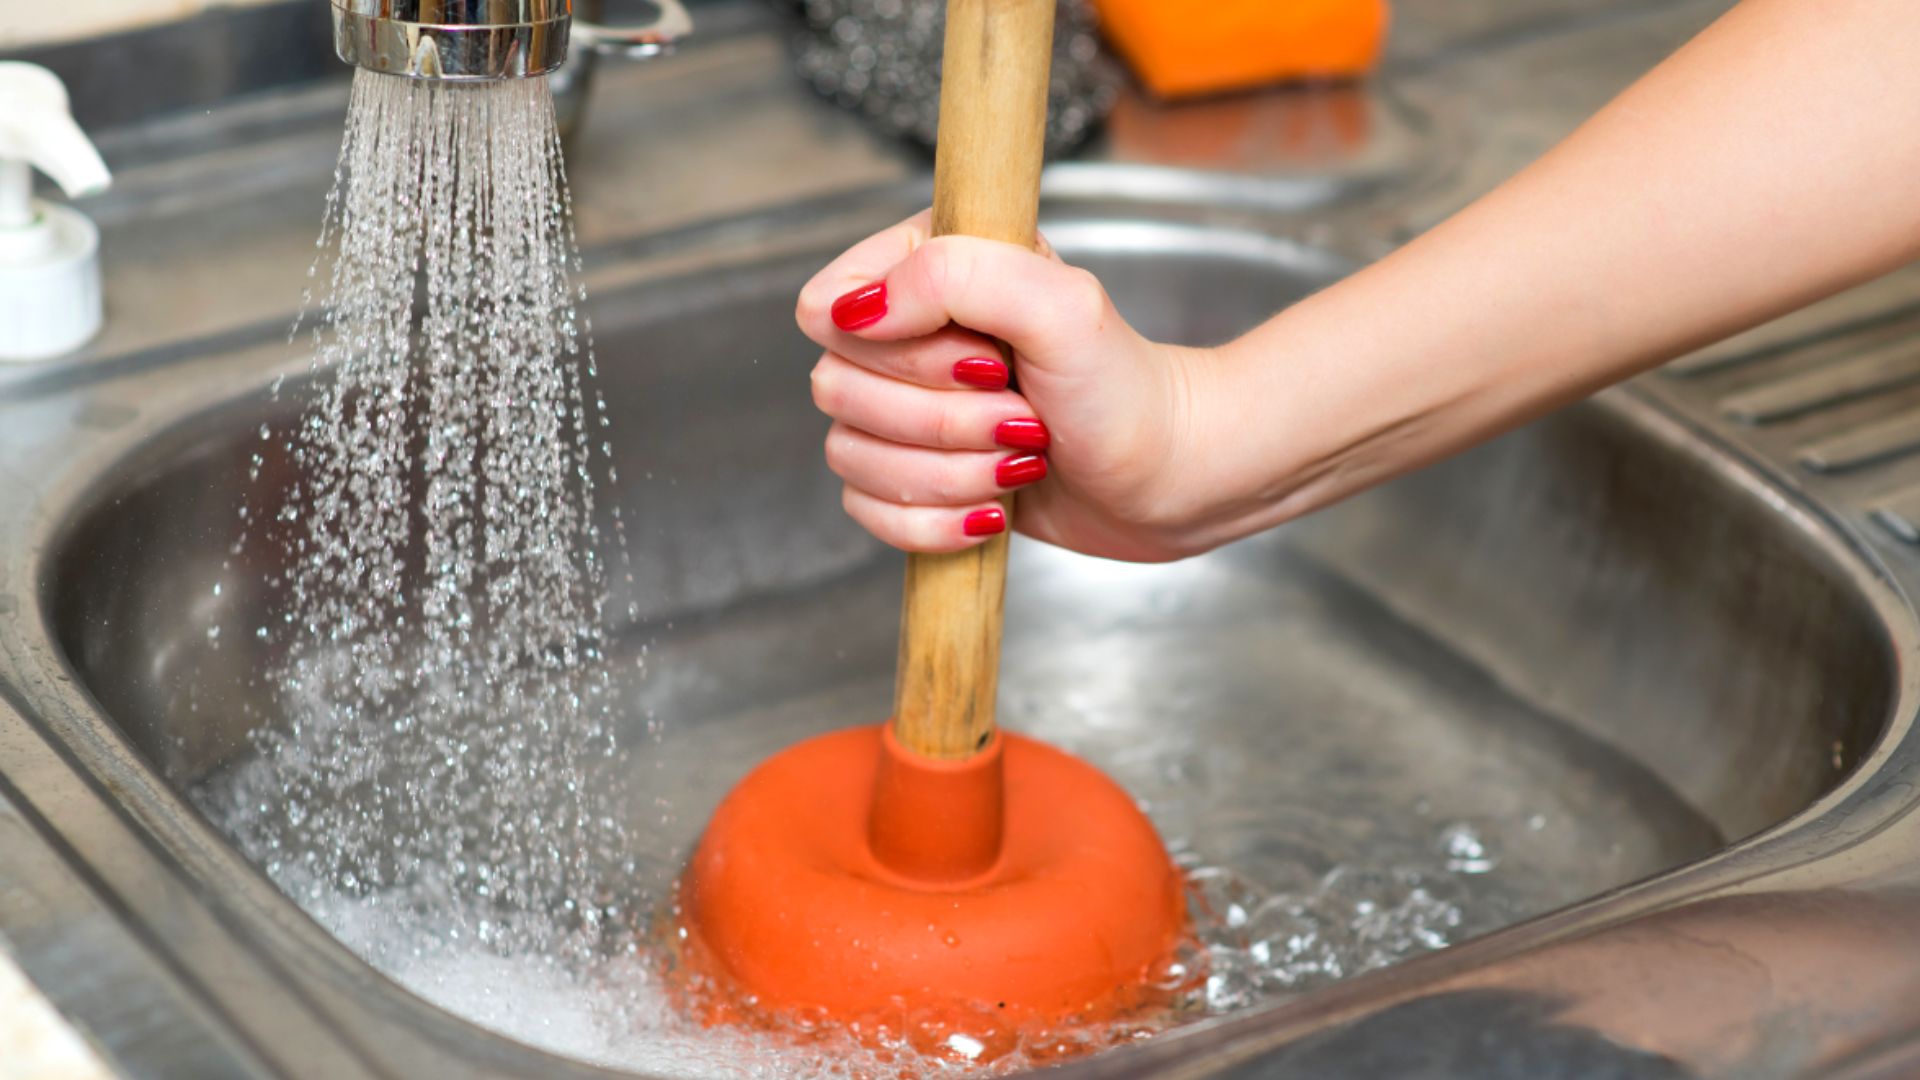
When it comes to unclogging a kitchen sink, a plunger can be a simple yet effective tool. Here’s a step-by-step guide on how to use a plunger to clear that stubborn clog:
- Prepare the area: Ensure there is enough water in the sink to cover the rubber part of the plunger. If the sink is empty, add some water until it covers the drain opening.
- Position the plunger: Place the plunger over the drain, making sure it creates a tight seal around the opening.
- Apply pressure: With a firm grip, push and pull the plunger up and down rapidly for about 20-30 seconds. This action helps create suction and pressure to dislodge the clog.
- Check for movement: After plunging, remove the plunger and check if the water starts draining. If not, repeat the process a few times until you notice improvement.
Tips for better plunger use in stubborn clogs:
- For double sinks, block off one drain while plunging the other to ensure better suction.
- If you have a double-cup plunger, make sure both cups are folded out to create a better seal.
- Keep a consistent pace while plunging to maintain steady pressure on the clog.
By following these steps and tips, you can effectively use a plunger to unclog your kitchen sink without much hassle.
Method 2: Baking Soda and Vinegar
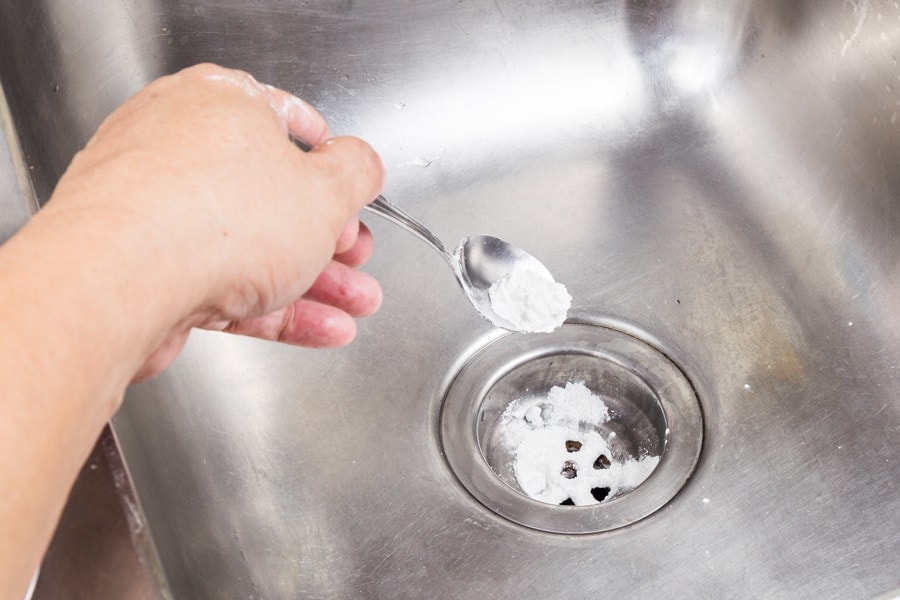
The baking soda and vinegar method is a popular natural solution for unclogging a kitchen sink. This simple yet effective method utilizes the chemical reaction between baking soda (sodium bicarbonate) and vinegar (acetic acid) to break down and dissolve stubborn clogs.
Here’s a step-by-step guide on how to use baking soda and vinegar to unclog your kitchen sink:
- Start by removing any standing water from the sink using a bucket or cup.
- Pour about half a cup of baking soda down the drain. Make sure to distribute it evenly across the sink.
- Let the baking soda sit in the drain for a few minutes to allow it to penetrate the clog.
- Next, pour approximately one cup of vinegar into the drain. You may notice some fizzing and bubbling, which is a sign that the chemical reaction is taking place.
- Cover the drain opening with a plug or cloth to prevent the mixture from splashing out.
- Leave the baking soda and vinegar mixture in the drain for around 30 minutes. This will give it enough time to break down the clog.
- After 30 minutes, remove the cover from the drain and flush it with hot water. The hot water will help wash away any remaining debris and clear the drain.
The Science Behind It
The combination of baking soda and vinegar creates an acidic solution that produces carbon dioxide gas when they react with each other. This gas helps dislodge and break apart clogs in your kitchen sink pipes.
The baking soda acts as a mild abrasive, helping to scrub away grime and buildup on the walls of the pipes. It also helps neutralize odors that may be coming from your drain.
Vinegar, on the other hand, is acidic and helps dissolve organic materials like food particles, grease, and soap scum that may be causing the clog. The fizzing and bubbling you see when you mix baking soda and vinegar are the visual evidence of the chemical reaction taking place.
It’s important to note that while baking soda and vinegar can effectively tackle minor to moderate clogs, they may not be potent enough to clear severe or stubborn clogs. In such cases, you may need to try other methods or consider seeking professional assistance.
Remember to exercise caution when using this method, as the fizzing mixture can splash out of the drain. Always cover the drain opening and use protective gloves if necessary.
Using baking soda and vinegar is a cost-effective and eco-friendly way to unclog your kitchen sink. Give it a try before moving on to more intensive methods!
Method 3: Using a Cable Auger
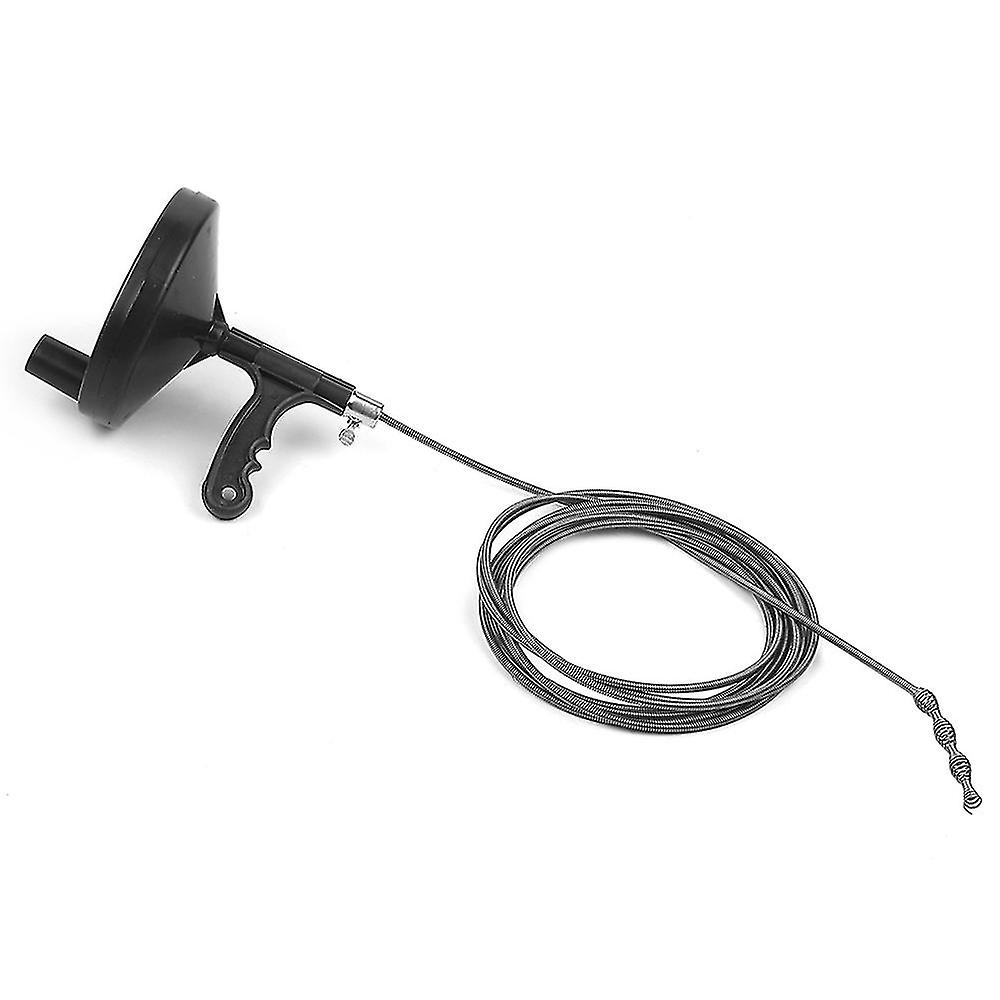
When it comes to tackling stubborn clogs in your kitchen sink, a cable auger can be an invaluable tool. This method allows you to effectively target and dislodge blockages within the sink pipes, providing a practical solution for more challenging clogs.
Step-by-Step Guide on Using a Cable Auger
- Preparation: Start by extending the cable of the auger and positioning it near the drain opening.
- Insertion: Carefully feed the cable into the drain while holding onto the handle, ensuring that it advances smoothly without causing any damage to the pipes.
- Turning the Handle: As you encounter resistance, begin turning the handle of the cable auger in a clockwise direction. This rotational movement helps the cable navigate through the pipes and break through the clog.
- Retrieval: Once you feel that the auger has successfully penetrated the clog, slowly retract the cable while continuing to rotate the handle. This action helps to dislodge and bring up any debris causing the blockage.
Highlighting the Benefits of Using a Cable Auger
Using a cable auger offers several advantages when it comes to clearing clogs in your kitchen sink:
- Precision: The design of a cable auger allows for targeted and precise maneuvering within the pipes, making it ideal for addressing specific areas of blockage.
- Versatility: Cable augers are suitable for use in various types of sinks and can effectively tackle different degrees of clogging, from minor obstructions to more severe blockages.
- Safety: Unlike harsh chemical drain cleaners that can potentially damage your pipes, using a cable auger is a safer and more controlled method for clearing clogs.
By following this method, you can effectively address challenging clogs in your kitchen sink, restoring proper drainage without resorting to harmful chemicals or extensive manual labor.
Method 4: Unclogging with a Wet-Dry Vacuum
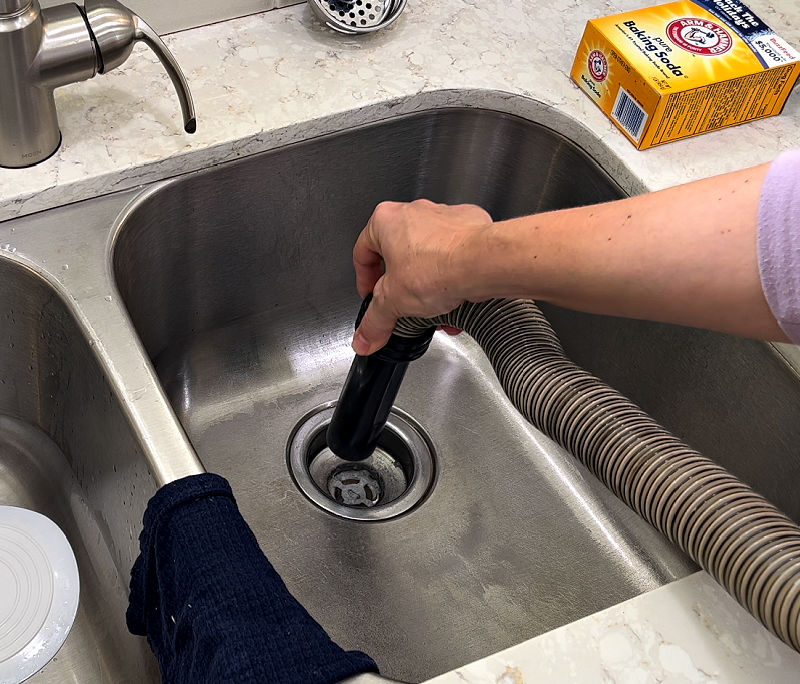
If you have a stubborn clog in your kitchen sink, using a wet-dry vacuum can be an effective solution. This method works well for clogs caused by organic matter or small objects. Here’s how you can use a wet-dry vacuum to dislodge the clog:
Step-by-step guide on using a wet-dry vacuum to dislodge clogs in the kitchen sink.
- Start by selecting the appropriate attachment for the wet-dry vacuum. A narrow attachment works best for targeting the clog directly.
- Ensure that the vacuum is set to the liquid setting to handle the water in the sink.
- Place the attachment directly over the drain and create a tight seal. This will ensure maximum suction to dislodge the clog.
- Turn on the vacuum and allow it to run for several minutes. The suction power should help pull out any debris causing the clog.
- Once you feel that the clog has been dislodged, switch off the vacuum and carefully remove the attachment from the drain.
Important precautions to take when using this method.
While using a wet-dry vacuum can be an effective way to unclog your kitchen sink, it’s important to keep in mind some safety precautions:
- Avoid using a wet-dry vacuum if you have poured any chemical drain cleaners into the sink. The fumes from these chemicals can be harmful when sucked up by the vacuum.
- Ensure that there is no standing water left in the sink before using the wet-dry vacuum.
- Be cautious of any small items or jewelry that may accidentally get sucked into the vacuum while in use.
Remember, always exercise caution and follow safety guidelines when attempting to unclog your kitchen sink with a wet-dry vacuum.
Method 5: Removing the P-Trap
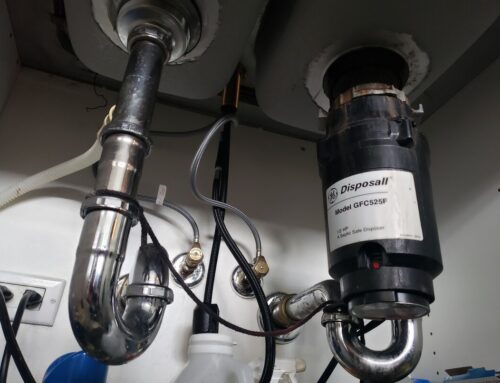
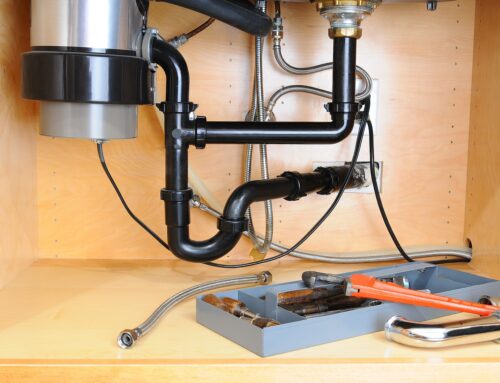
The P-trap is a U-shaped pipe located beneath the sink. It’s designed to trap water, creating a seal that prevents sewer gases from entering the home. Over time, this trap can also catch debris, leading to clogs. If you suspect the clog is within the P-trap, it’s important to identify and proceed with caution.
Steps to Remove and Clean the P-Trap:
- Locating and Identifying the Clog: The P-trap is a U-shaped pipe located beneath the sink. It’s designed to trap water, creating a seal that prevents sewer gases from entering the home. Over time, this trap can also catch debris, leading to clogs. If you suspect the clog is within the P-trap, it’s important to identify and proceed with caution.
- Preparing for Removal: Before removing the P-trap, it’s essential to gather the necessary tools such as a bucket, channel-lock pliers, and a pipe wrench. Place the bucket under the trap to catch any water or debris that might spill during the removal process.
- Step-by-Step Removal: Start by turning off the water supply to the sink. Using the channel-lock pliers, loosen the slip nuts that hold the P-trap in place. Once these nuts are loosened, carefully detach the P-trap from the drainpipe and sink tailpiece.
- Clearing Out Debris: With the P-trap removed, empty its contents into the bucket. This may include food particles, grease, and other debris that have accumulated over time. Use a brush or old toothbrush to clean out any remaining grime from inside the trap.
- Reinstalling: After cleaning out the P-trap thoroughly, reattach it to the drainpipe and tailpiece. Ensure that all connections are tight and secure to prevent any leaks once water is turned back on.
- Testing for Success: Once reinstalled, run water through the sink to check for proper drainage. This will indicate whether the clog has been successfully removed from this section of the plumbing.
By following these step-by-step instructions, you can effectively remove and clean out a clogged P-trap in your kitchen sink. It’s important to handle this task carefully and methodically to avoid any damage to your plumbing system.
Curious about how a sink is put together? Dive into our sink parts diagram article for a closer look.
Preventing Future Clogs
To avoid future clogging issues in your kitchen sink, it’s important to implement some preventive measures and incorporate regular maintenance practices. By following these tips, you can keep your drain clear and minimize the risk of clogs.
Proper waste disposal
One of the main culprits behind kitchen sink clogs is improper waste disposal. To prevent clogs, avoid putting the following items down the drain:
- Grease, fats, and oils: These substances can solidify and create blockages in your pipes. Dispose of them in a separate container and throw them in the trash.
- Eggshells: The membrane inside eggshells can stick to pipe walls and accumulate debris. Dispose of eggshells in the trash or use them for composting.
- Meat, coffee grounds, pasta, rice, bread, fruit peels, or pits: These items can expand or break down in water, leading to clogs. Dispose of them properly or compost them if applicable.
Regular cleaning
Keeping your kitchen sink clean is essential for preventing clogs. Here are some maintenance practices to consider:
- Vinegar-water ice cubes: Once a month, fill an ice cube tray with a mixture of vinegar and water. Freeze these cubes and then run them through your garbage disposal to help clean out any residue and keep it smelling fresh.
- Running hot water: After using the sink or garbage disposal, run hot water for a few minutes. This helps flush away any remaining debris that could potentially lead to a clog.
By adopting these preventive measures and incorporating regular maintenance practices into your routine, you can significantly reduce the likelihood of experiencing a clogged kitchen sink. However, if you do encounter persistent or recurring clogs despite taking preventive measures, it may be time to seek professional assistance.
Remember that prevention is key when it comes to kitchen sink clogs. By being mindful of what you put down the drain and implementing regular maintenance practices, you can keep your kitchen sink running smoothly and avoid the inconvenience of clogs.
The Right Tools for the Job
When it comes to unclogging a kitchen sink, having the right tools for the job is crucial. Different types of clogs may require different approaches, and using the appropriate tools can make the task much more manageable.
Plungers
- Common Usage: Plungers are effective for clearing simple clogs caused by organic matter or minor blockages.
- How It Works: The suction created by the plunger helps dislodge and push obstructions through the pipe.
Augers
- Ideal For: When dealing with more stubborn clogs deeper within the pipes, an auger, also known as a plumber’s snake, can be highly effective.
- Key Function: Augers work by breaking up and retrieving blockages that may be out of reach for a plunger.
Wet-Dry Vacuum
- Suitable For: This tool is useful for dislodging clogs when other methods have proven ineffective.
- Precautions: When using a wet-dry vacuum, it’s important to ensure a secure seal to prevent any mess or potential damage.
By understanding the specific uses and benefits of these unclogging tools, you can effectively address various types of clogs in your kitchen sink. Each tool serves a distinct purpose and can be valuable in maintaining clear and functional drainage in your home.
When to Call a Professional
It’s important to recognize when it’s time to bring in professional plumbers in Chicago for kitchen sink clog emergencies. Here are some situations where seeking expert help is the best course of action:
- Persistent or Recurring Clogs: If you find yourself dealing with frequent or stubborn clogs in your kitchen sink, it may indicate a larger underlying issue within your plumbing system. Professional plumbers have the expertise to diagnose and address these complex problems effectively.
- Expertise and Specialized Equipment: Our team at Lifetime Plumbing is equipped with the necessary tools and knowledge to handle even the most challenging clogs. We understand the intricacies of kitchen sink plumbing and can provide targeted solutions for your specific needs.
Remember, prompt attention to persistent clogs can prevent further damage and costly repairs down the line.
At Lifetime Plumbing, we specialize in handling kitchen sink clogs with precision and care, ensuring that your plumbing system is restored to optimal functionality.
Don’t hesitate to reach out to our plumbers in Chicago when you encounter challenging kitchen sink clogs. We are committed to delivering reliable and efficient solutions for all your plumbing needs.
Conclusion
Remember, when it comes to a clogged kitchen sink:
- Take immediate action to prevent further issues.
- Regularly maintain your sink to avoid future clogs.
- Try the unclogging methods discussed, but be cautious and stop if unsure or if the clog persists.
- Consider seeking professional assistance from Lifetime Plumbing, your expert plumber in Chicago.
By following these tips, you can keep your kitchen sink running smoothly and avoid any unnecessary headaches!
More Posts You May Find Interesting
Table of Contents

